As an Amazon Associate I earn from qualifying purchases. Links below are affiliate links, which means I may earn a commission at no extra cost to you.
One section of lights out on a 100ft run feels disproportionate to the small patch of dark. The rest of the strip works, so it is tempting to assume a single failed LED and move on. On a per-pixel RGB+IC line, though, a dead stretch often traces to a tight bend, a screw pressing on the housing or a connector that has shifted under the adhesive. This guide gives you an order of checks that starts with the mounting and ends with a support message. It applies to the 50-LED set described in the listing and stays within the seller’s stated facts, so you can act without guessing at specs.
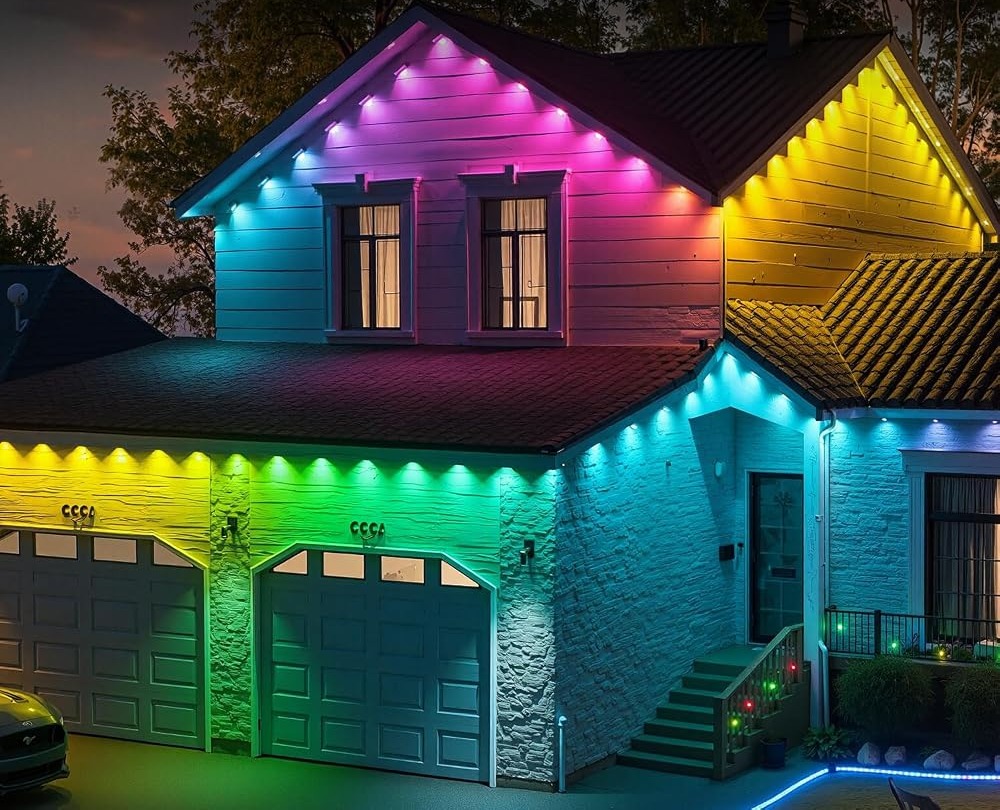
Quick answer
One section of lights out is usually a local issue: a bend, a mounting screw or a connector under pressure rather than a failed strip. Inspect the dark stretch first, then set a steady color to rule out a mode effect. If it stays dark, the seller says to contact them through your order with a 24-hour reply. Check the current price on Amazon.
One Section of Lights Out? Isolate It First
Start by defining the boundary of the dark area. Is it a single LED, a short group or a length that matches one connected segment? A single pixel that will not light points to something local, while a whole segment going dark suggests a connection between pieces. Note the position in feet along the 100ft run, because that number makes any later support message much clearer. Next, change the display to a plain steady tone in the LotusLamp X app. Per-pixel effects can make an LED look off when it is simply showing a different color at that instant, so a single tone removes the ambiguity. If the dark spot stays dark in a steady color, you have a real local fault to chase. If it fills in, the “problem” was a mode you had forgotten was active, and there is nothing to repair.
Check Bends and Mounting Pressure
Work on the mounting before you consider the electronics. A run fixed with self-adhesive backing or screws can develop a tight spot where the strip turns a corner or where a clip presses too hard.
- Look for a sharp fold at corners and eave returns.
- Check that no screw has been driven through the housing.
- Press gently along the dark stretch to see whether contact returns.
- Trace the connector at each end of the affected segment.
- Compare the dark LEDs with their immediate neighbors.
- Note any place the strip was knocked during yard work.
A lens caked with grime can also look dim beside a clean one, so give the area a gentle wipe with a damp cloth. The guide to cleaning permanent outdoor lights without damage explains what is safe on the anti-UV material and which products to keep away. If pressure or cleaning brings the section back, the strip was never at fault; the mounting just needed attention.
Settings or Hardware?
Per-pixel control is what makes a single dark LED ambiguous. Because each of the 50 RGB+IC LEDs is addressed individually, a scene can deliberately leave one point dim while its neighbors glow. That is a feature, not a failure, and it is why the steady-tone test comes first. The permanent outdoor lights FAQ groups the same questions about modes, colors and sequences in one place if you want to confirm what the set can do. If a steady tone still shows a dark patch, try the included remote as a second control path; when both app and remote agree, the setting is ruled out and the fault sits in the run. That distinction decides whether you keep adjusting scenes or start inspecting hardware.

When to Stop and Ask
There is a point after which further poking does more harm than good. If the dark section survives a steady tone, a gentle pressure check and a careful clean, stop prying at connectors on a ladder. The seller says to contact them through your order and replies within 24 hours, and the notes on what to do if something fails show how to describe the symptom so the exchange is short. Note the position along the run, the number of affected LEDs and the checks you already tried. If you are still deciding whether this set is right for you, the final permanent outdoor lights checklist pulls the length, power and mounting points together in one place. An honest limit: the listing states no warranty length, so ask through your order if you need written terms.
What to check before you buy
This set suits an owner willing to inspect a mounting point when something looks off. Skip it if you want a display that tolerates being ignored for years, or if there is no outlet near the eaves.
- Confirm an outlet is close to the run for the adapter.
- Plan a sheltered spot for the control box.
- Treat IP67 as the seller’s stated rating only.
- Treat 50,000 hours as a listing estimate.
- Keep order details for the stated 24-hour support reply.
FAQ
Does one dark LED mean the whole strip is failing?
Not usually. A local bend, a mounting screw or a connector under pressure is a more common cause on a 100ft run. Work through those checks before treating it as a hardware failure.
Can a scene make one LED look off?
Yes. Individual RGB+IC control lets a pattern show different colors on neighboring LEDs. Set a single steady tone to confirm whether the spot is genuinely dark.
Should I take the run down to inspect it?
Only as a last resort. Most checks can be done from below or with a short reach, and the description of the affected position will help support either way.
For the full 100ft RGB+IC listing and current details, check the current price on Amazon.
Views: 0