As an Amazon Associate I earn from qualifying purchases. Links below are affiliate links, which means I may earn a commission at no extra cost to you.
Train track setup is the part of a holiday display that rewards a little method. The pieces are simple to join, but the order in which you sort, shape, and check them decides whether the train glides around the tree or stalls on the first lap. This walkthrough is written for a first-time user with a 30-piece holiday set: a steam locomotive, four animated cars, and 18 ft of snap-together track. Follow the steps in order and you will build a circle or oval that runs cleanly in both directions.
Quick answer
Sort the pieces, dry-lay a circle or oval, press each joint, add the locomotive and cars, then insert 6 AA batteries and test a lap each way. A flat surface and a firm connection at every joint are the two things that matter most. Check the current price on Amazon.
Train Track Setup From Start to Finish
Here is the whole sequence in brief, with detail in the sections that follow:
- Clear a flat area around the tree skirt and smooth the fabric.
- Sort the track pieces and lay them loosely into a circle or an extended oval.
- Adjust the shape before pressing anything together.
- Press each joint firmly and check the loop for gaps or raised sections.
- Place the locomotive and four railcars gently on the rails.
- Add 6 AA batteries, switch on, and watch a lap in each direction.
Working in this order means you never fight a half-built loop. The dry-lay step in particular saves time, because it lets you change the shape without pulling apart connected joints. Our guide to setting up a train track around a Christmas tree covers the same process from the tree-fitting angle.
Sort and Count Before You Build
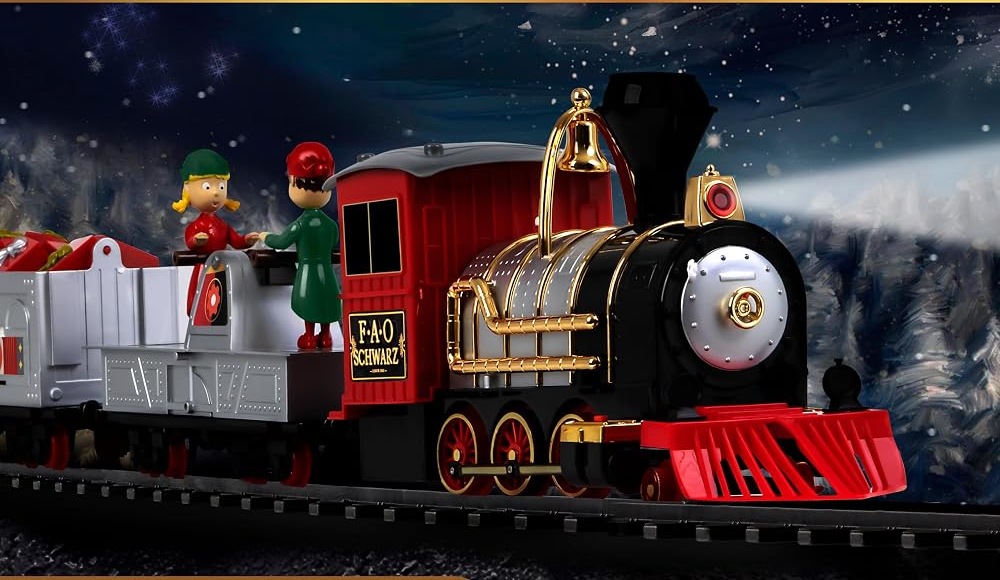
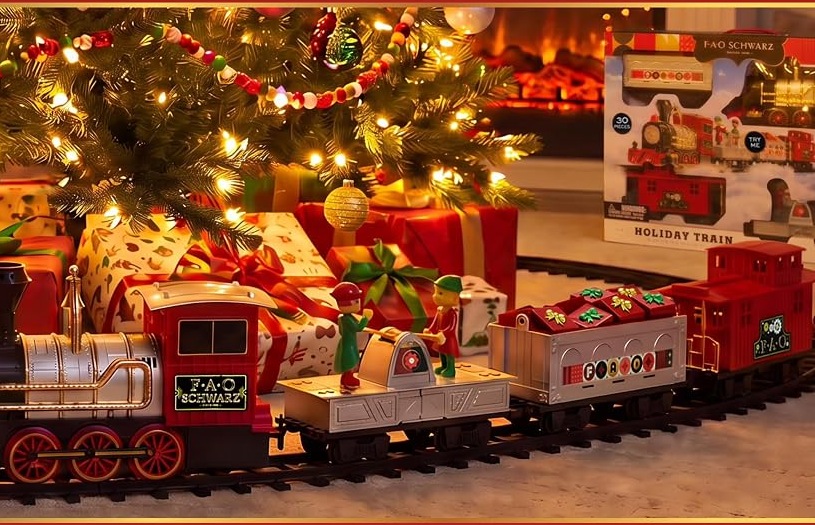
Start by emptying the box onto a clean floor and separating the track from the train. The set includes a steam locomotive and four unique railcars whose character figures move as the train rolls. Knowing what you have before you begin prevents the common mistake of building the loop and then realizing a piece is still wrapped or tucked away.
Group the track sections by shape if you can, then scan the floor for the space the loop will occupy. The 18 ft (about 5.5 m) of snap-together track makes one closed circle or extended oval, so you need a clear ring rather than a loose pile. Lay everything out where it will stay; carrying a partly assembled loop across a room is a good way to pull a joint apart.
Close the Loop and Check Joints
Now arrange the pieces into your chosen shape and press the connections together. Work steadily around the ring, checking each joint as you go. A connection that is not fully seated can leave a small step between sections, and the cars will feel it even if you cannot see it from standing height. Run a fingertip along the rails and the inner edge to catch anything proud.
This is also the moment to check clearance. Look up at the lowest branches and down at the skirt, making sure neither crowds the track. The train is bi-directional, so the path has to be clear on both sides of the loop. If a section will not sit flat, ease it apart and realign it rather than forcing it; a careful retry is faster than chasing a stall later. Our comparison of layouts for small and large trees can help if you are torn between shapes.
Power, Sound, and a Test Lap
With the loop solid, place the locomotive and cars on the rails and add 6 AA batteries. The set requires them, and inclusion is not stated, so have a fresh set ready. Switch on and watch a full lap before you step away. The LED headlight and realistic train sounds should work, and the mute option lets you run it silently if the room calls for quiet.
Use the test lap to confirm clockwise and counter-clockwise travel. A train that hesitates at one spot usually means a raised joint or an obstruction, so stop and correct it rather than waiting for it to clear on its own. Watch the animated figures on the cars too; they move as the train rolls, so a car that is not tracking properly will be obvious. If the floor is soft or uneven, our tips on keeping train track flat on carpet are worth reading. For ideas on what to do with the finished loop, see our holiday train track shape ideas.
What to check before you buy
A few limits shape how this setup will go.
- Power: requires 6 AA batteries; inclusion is not stated.
- Track: 18 ft (about 5.5 m), forming one circle or one extended oval.
- Age: manufacturer recommends 8 years and up.
- Build: plastic pieces that join by hand, with no fixed scale specified.
- Surface: a flat floor makes a level loop much easier.
- Route: one closed loop; no documented branches.
FAQ
Do I need tools to assemble the track?
No. The sections snap together by hand, which is why the loop can be reshaped and taken apart again. If a joint resists, check that the ends are square and press again; forcing it is rarely the answer.
What should I do if the train stalls on one spot?
Stop it and inspect that section of track. The usual causes are a joint sitting slightly high or something lying on the rails. Seat the connection firmly or clear the obstruction, then test a lap in both directions again.
Can I set the loop up on carpet?
Yes, provided the surface is even. Smooth the tree skirt where the rails cross it and check the whole loop by feel before running the train. A bumpy joint is more likely to cause trouble than a soft floor.
Train track setup is not complicated, but it does reward doing things in order. Sort first, shape the loop before locking joints, check the surface, and finish with a test lap in each direction. That routine turns a box of pieces into a display you can enjoy all season. See the train set on Amazon.
Views: 0