As an Amazon Associate I earn from qualifying purchases. Links below are affiliate links, which means I may earn a commission at no extra cost to you.
If you are working out how to install permanent outdoor lights, the hard part is rarely the hardware. It is the order of operations: where the run begins, how it turns a corner, what holds it up, and where the adapter plugs in. Get that sequence wrong and you end up with a strip that sags, a control box sitting in the rain, or a run that stops short of the far eave. This guide walks through a clean installation in stages, using a 100ft RGB+IC eave set with 50 individually controlled LEDs as the reference throughout.

Quick answer
To install permanent outdoor lights, measure the roofline, plan the corners and an outlet, fix the strip with adhesive and screws, connect the 24V adapter, and test with the app and remote before the final press. Check the current price on Amazon.
How to install permanent outdoor lights in five stages
A fixed sequence removes most of the guesswork. Each stage has one job, and finishing one makes the next easier. Skipping ahead is how people double back and peel off adhesive that has already gripped.
- Measure the roofline and sketch the route on paper.
- Choose a starting point within reach of an outdoor outlet.
- Dry-fit the strip, mark each corner, and trim the plan.
- Fix the strip with the adhesive backing plus screws.
- Connect the adapter and test every mode before the final press.
Treat the sketch as the control document. Write the length of each straight section beside it and note where the run turns. A 100ft strip with 50 LEDs gives you a real budget to work against; the sketch shows whether your front edge and returns fit inside it. Only after the route is settled should anything touch the fascia.
Stage one: measure and plan the route
Start at the outlet, because power decides where the run can begin. Walk the eaves with a tape and record each straight length, then add the short returns at the corners. The goal is a route that uses the 100ft without leaving a dangling tail or stretching the last section past its fixing points. For the detailed math, planning corners and runs for eave light installation covers the method.
Mark the corners on the sketch and again lightly on the surface. A right angle looks simple on paper but rarely measures square on an older house, so note whether each turn is slightly longer or shorter than expected. This is also the moment to check the mounting surface: smooth fascia accepts adhesive, while textured or painted boards are better with screws. Deciding now avoids a half-stuck strip later.
Stage two: fix the strip along the eaves
Work from the outlet outward in short sections. Peel a small length of the self-adhesive backing, press it square to the fascia, and hold it for a few seconds before moving on. The strip supports any size or shape of run, so you are free to follow an uneven edge as long as every section sits flat. Keep the LEDs facing the same direction throughout; a flipped section breaks the continuous look.
Adhesive alone is fine on a clean, smooth surface, so a no-drill fix is realistic there; installing outdoor lights without drilling covers when that approach holds. Screw-in fixing is the safer choice on anything rough or chalky, and using both gives the firmest hold over a full season. If you want to keep the finish intact, attaching lights to eaves without damage explains how to match the fixing method to the material. Leave the control box and adapter in a sheltered spot as you go, rather than letting them hang at the corner.
Stage three: power, control and first test
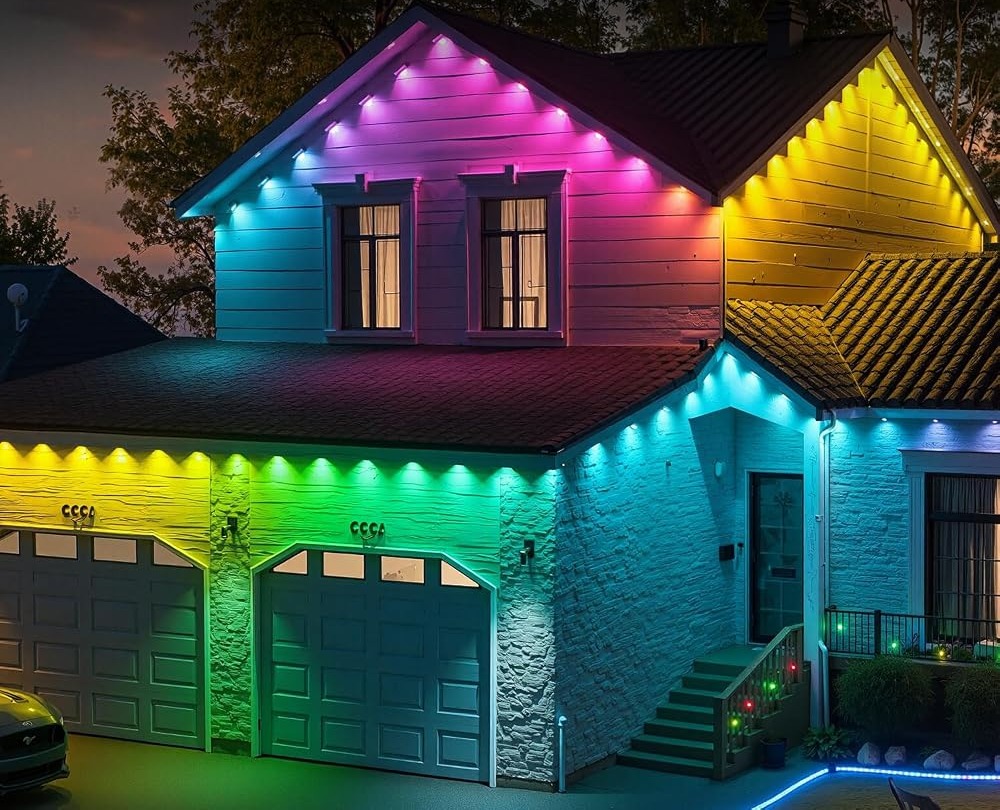
Once the strip is fixed, connect the 24V adapter and power up before you commit to the last fixing points. The LotusLamp X app lets you set color, brightness, speed and sequence, run a built-in timer, and sync to music; the included remote handles quick on and off. Step through a few of the 234 dynamic modes and 33 scene modes to confirm every section lights and each pixel responds.
The seller rates the strip IP67 waterproof and says the control box and adapter are rainproof, but a rainproof rating does not mean either part should sit in water. Seat the control box under the eave and keep the adapter out of standing water. A final walk-through with the remote in hand confirms every section before you press the last fixings home.
What to check before you buy
A short site check before installation saves a wasted afternoon.
- Confirm an outlet within reach of the 24V adapter.
- Measure every straight run and corner return.
- Check whether the fascia suits adhesive or screws.
- Plan shelter for the rainproof control box.
- Treat IP67 as the seller’s rating and 50,000 hours as an estimate.
FAQ
Do I need to drill to install permanent outdoor lights?
Not always. The self-adhesive backing holds on a clean, smooth surface, so a no-drill installation is realistic there. On textured, chalky or painted fascia, screw-in fixing is the more dependable choice. Many people use both methods together for a strip that stays flat all year.
Where should the run start?
Start near the outlet that powers the 24V adapter. That keeps the control box and adapter close to shelter and avoids stretching the supply across the roofline. From there, work outward along the eaves and plan the returns so the far end lands at a natural stopping point.
Can one person install a 100ft run?
Yes, with patience. The main difficulty is holding a long section square while peeling the backing. Work in short lengths and secure each one before moving on. A second pair of hands helps at corners, but it is not essential for a straightforward single-story eave.
Installed in this order, a permanent eave run is a manageable project rather than a puzzle. Measure first, fix the strip with the right combination of adhesive and screws, then connect power and test while you can still adjust. If the 100ft RGB+IC set suits your roofline, see the 100ft RGB+IC eave lights on Amazon to check the current configuration.
Views: 0