As an Amazon Associate I earn from qualifying purchases. Links below are affiliate links, which means I may earn a commission at no extra cost to you.
Eave light installation goes wrong most often at the planning stage, not on the ladder. A strip that looks generous in the box can come up short once every corner return and short side is added, and a route that ignores the outlet leaves the adapter stranded. This guide treats the run as a measured route rather than a roll to be unspooled. Using a 100ft RGB+IC set with 50 individually controlled LEDs as the reference, it covers measuring corners, budgeting length, and splitting the work into sections you can actually fix.
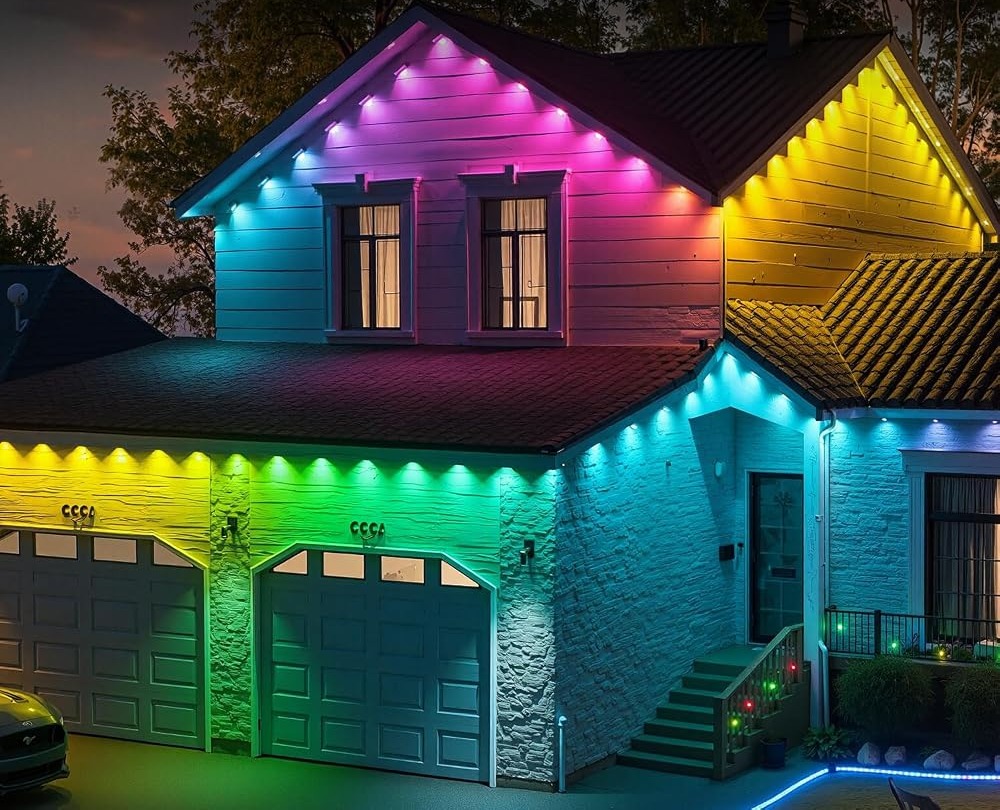
Quick answer
For eave light installation, measure every straight edge and corner return first, sketch the route, then split it into short sections that fit the 100ft budget and end near a sheltered outlet. Check the current price on Amazon.
Eave light installation starts with a measured route
Begin with paper, not hardware. Walk the roofline with a tape and record each straight length in order, then add the distance around every corner. The reference run is 100ft with 50 LEDs, so your measured total plus a small allowance has to fit inside that figure. If it does not, decide now which side to shorten rather than discovering it at the last corner with an empty reel.
Write the power location on the sketch as a fixed point. The start of the run belongs near an outlet, because the 24V adapter and control box need both power and shelter. Everything else flows from that point outward. A route drawn this way turns an abstract length into a short list of measured sections, each with a clear beginning and end.
Measure corners before you buy
Corners consume more strip than people expect. A right angle on an old house is rarely square, and the strip has to travel around the outside of the turn rather than cut across it. Measure the actual path the strip will follow and add a little slack for the bend; pulling it tight around a sharp corner puts strain on the fixing points.
| Run element | What to record | Common trap |
|---|---|---|
| Front eave | Full straight length | Skipping the overhang at each end |
| Corner return | Distance around the outside | Assuming a perfect right angle |
| Side edge | Separate measured length | Forgetting the second floor line |
| Power end | Distance to the outlet | Planning the start at the wrong corner |
Once these numbers are on paper, you can see whether one continuous 100ft run covers the job or whether the plan needs to favor the most visible face. An honest plan beats an optimistic one every time.
Split the run into manageable sections
A long strip is awkward to hold square while peeling backing. Break the route into short, labeled sections and secure each before starting the next. On smooth, sealed fascia the self-adhesive backing may be enough, so installing outdoor lights without drilling is worth reading before you reach for a drill. On rough or painted boards, screw-in fixing carries the load more reliably, and using both keeps each section flat.
At each turn, stop and check the direction of the LEDs before you commit. A flipped section breaks the continuous look, and correcting it after the backing grips means lifting the strip you just fixed. Installing lights around corners and rooflines walks through the turn itself. The 50 individually controlled pixels will hide small imperfections in a chase effect, but they cannot hide a section that sits proud of the rest.

Land the run near power and shelter
The last planning decision is where the run ends and the adapter sits. Keep the starting point close to an outlet and reserve a dry, shaded pocket for the control box; the seller rates the strip IP67 waterproof and calls the control box and adapter rainproof, but that is not a reason to leave either in standing water. Where to put the control box and adapter covers the placement details.
With the route fixed, connect the 24V adapter and run through a few of the 33 scene modes to confirm every section lights before you press the final fixings. The full working order is set out in the step-by-step installation guide, which picks up where planning ends. Planning carefully here is what makes the rest of the job repeatable.
What to check before you buy
A short checklist keeps the measured plan honest.
- Tape every straight edge and write it down.
- Measure around corners, not across them.
- Confirm the measured total fits inside 100ft.
- Mark a sheltered spot for the control box and adapter.
- Check the fascia type for adhesive or screws.
- Treat IP67 as the seller’s rating and 50,000 hours as an estimate.
FAQ
How much length should I allow per corner?
Allow the distance the strip actually travels around the outside of the turn, plus a little slack for the bend. Assuming a crisp right angle is the usual mistake. Measure the path on the surface rather than the distance between the two walls.
Can I plan two separate runs from one outlet?
A 100ft run is designed as a single strip, so splitting it changes how you power and control the sections. If your roofline exceeds the measured budget, favor the most visible face and leave the secondary side for another run. Plan around what the set actually supplies.
Who should skip a permanent eave installation?
Renters and anyone who expects to move the display often should think twice. The layout decisions are effectively permanent, and removal takes patience. A seasonal light you take down each year is a better fit if flexibility matters more than a fixed outline.
Careful planning turns eave light installation into a sequence of measured, repeatable steps. Tape the route, budget the corners, split the run, and keep the power end sheltered. If this 100ft RGB+IC set matches your measurements, see the 100ft RGB+IC eave lights on Amazon to check the current configuration.
Views: 0