As an Amazon Associate I earn from qualifying purchases. Links below are affiliate links, which means I may earn a commission at no extra cost to you.
A permanent light installation timeline is useful because it turns a vague weekend job into a set of predictable stages. Most people underestimate the measuring and overestimate the fixing; the strip goes up quickly once the route is decided, but a poor plan costs far more time than careful preparation. This guide uses a 100ft RGB+IC run with 50 individually controlled LEDs as the reference and breaks the work into stages, flags what slows it down, and shows where to leave room for testing and correction.
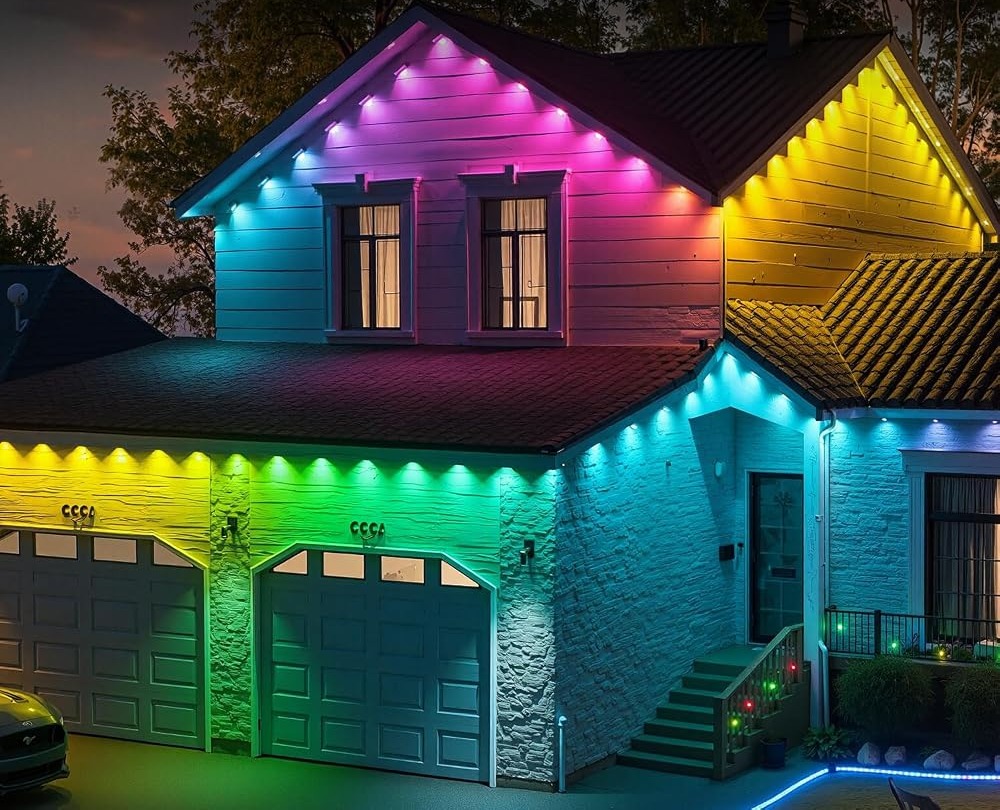
Quick answer
A permanent light installation timeline runs: survey and measure, plan the route and power, prepare the surface, fix the strip in short sections, then connect and test. Budget most of the attention for planning and the final check. Check the current price on Amazon.
The permanent light installation timeline in phases
Treat the job as five phases, each with a clear finish line.
- Survey: walk the eaves, tape every straight edge, and note the outlet.
- Plan: sketch the route, count corners, and confirm the length fits.
- Prepare: clean the fascia, check the paint, and pick a mild day.
- Fix: press short sections with adhesive, screws, or both.
- Test: connect the 24V adapter and run through the modes.
The first three phases decide how smoothly the last two go. A sketch with measured sections turns the 100ft budget into a concrete plan, and a clean surface lets the backing grip on the first press. Rushing phase three is the most common reason a strip lifts later and has to be refixed, which costs more time than the cleaning saved.
What slows the job down
Corners and surface condition account for most delays. An off-square turn takes longer because the strip must follow the outside of the trim, and a chalky board asks for screws rather than a quick adhesive pass. Neither is a problem if you expect it, but both surprise first-timers.
Weather is the other variable. Adhesive bonds poorly on a cold or damp surface, and a fascia baking in direct sun is no better. Pick a mild, dry stretch and the fixing phase becomes repetitive rather than frustrating. For a first attempt, a beginner’s roofline installation walkthrough shows how an experienced approach breaks a complex edge into short sections and keeps the pace steady. The whole order of work is also set out in the step-by-step installation guide, which is worth reading before you set a day aside.
Leave room for testing and correction
The last phase is the one people try to skip, and it is the one that protects everything before it. Once the strip is fixed and the adapter is connected, use the LotusLamp X app to check color, brightness, speed and sequence, try the built-in timer, and confirm music sync. Step through several of the 234 dynamic modes and 33 scene modes to make sure each section lights and every pixel responds. The included remote is useful for quick on and off from the ground.
Testing is also your last easy chance to lift a section that sits crooked or a corner where the LEDs face the wrong way. If a section must come up after the backing has set, removing permanent outdoor lights cleanly covers how to do it without damaging the finish. Building a short adjustment pass into the plan is far cheaper than discovering a flipped section days later.

Common delays to plan around
A few predictable issues account for most of the difference between a smooth job and a long one.
- Measuring corners across rather than around them, then running short.
- Starting at the wrong outlet and wasting strip reaching the visible face.
- Fixing on a damp or dirty fascia and having to lift sections.
- Placing the control box where water pools, then moving it.
- Testing only after the whole run is pressed and hard to adjust.
The seller rates the strip IP67 waterproof and calls the control box and adapter rainproof, but that is not a reason to leave either in standing water. Give the power end a sheltered pocket from the start. For the errors that recur most often, common outdoor light installation mistakes is a useful companion to this timeline.
What to check before you buy
A short check before the day begins keeps the schedule realistic.
- Tape the full route and confirm it fits 100ft.
- Note the outlet and a sheltered spot for the control box.
- Check the fascia for paint condition and texture.
- Choose a mild, dry day for the fixing phase.
- Decide adhesive, screws, or both for each surface.
- Treat IP67 as the seller’s rating and 50,000 hours as an estimate.
FAQ
How long does a permanent eave installation take?
It depends on the route, the surface, and how many corners you have. The fixing itself is quick once the plan is settled; measuring, cleaning, and testing take the real time. Planning those stages honestly is more useful than any single figure.
Can I install a run over more than one day?
Yes. The phases split naturally, so measuring and planning can happen on one day and fixing on another. Just avoid leaving exposed adhesive sections half pressed overnight, and try to finish the fixing and testing in the same mild stretch of weather.
Who should hire this out instead?
Anyone uncomfortable working at height, or dealing with a complex multi-story roofline, should consider getting help. The strip is manageable, but the layout decisions are effectively permanent. If a mistake would be costly to undo, a professional pass is reasonable.
A clear permanent light installation timeline removes most of the uncertainty from the job. Survey, plan, prepare, fix, then test, and leave room to correct a corner. If this 100ft RGB+IC set matches your measurements, see the 100ft RGB+IC eave lights on Amazon to check the current configuration.
Views: 0