As an Amazon Associate I earn from qualifying purchases. Links below are affiliate links, which means I may earn a commission at no extra cost to you.
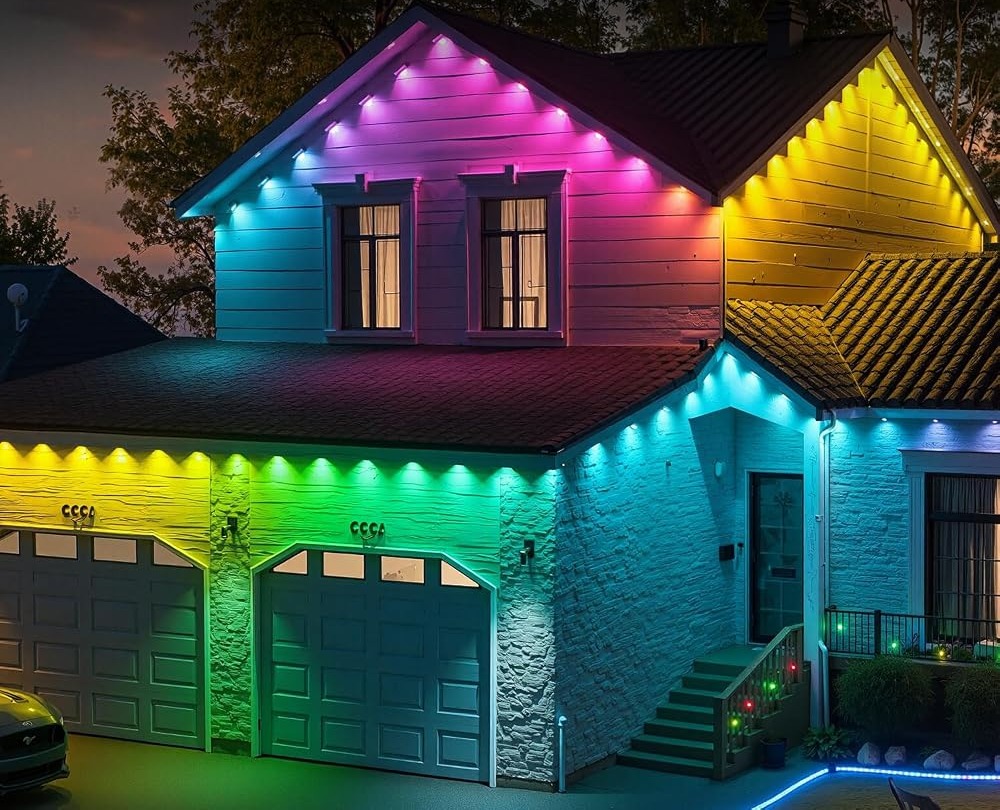
Outdoor light adapter placement is the detail that decides whether a permanent display is convenient or a constant nuisance. The strip itself is happy along the eaves, but the 24V adapter and control box are the two pieces that must stay dry, reachable, and close to power. Put them in the wrong spot and you are stretching cables across the roofline or crawling under a downspout every time you want to change a scene. This guide uses a 100ft RGB+IC run with 50 LEDs as the reference and covers outlet choice, shelter, and the route from the power end outward.

Quick answer
For outdoor light adapter placement, start at the nearest outlet, give the control box and adapter a dry sheltered pocket out of standing water, and run the strip outward from there so the power end stays reachable. Check the current price on Amazon.
Outdoor light adapter placement starts with the outlet
This is a wired 24V system, not a battery product, so the outlet decides where the run begins. Pick the closest protected socket on the exterior, or one just inside a door or garage, and measure from that point to the first fixing on the eave. Starting at power keeps the adapter lead short and the control box within reach for timer changes and firmware-free operation through the app and remote.
Work backward from that point to confirm it suits the whole route. A 100ft strip with 50 LEDs gives a real budget; if the outlet sits at the wrong corner, you may spend half the run just reaching the visible face of the house. The step-by-step installation guide shows how the power end fits into the overall sequence. Choose the outlet first and the rest of the plan follows naturally.
Keep the control box sheltered, not in water
The seller rates the strip IP67 waterproof and says the control box and adapter are rainproof. That wording matters. Rainproof means the enclosure handles rain, not that either piece belongs in standing water or under a sprinkler line. Seat the control box under the eave, behind trim, or in a covered corner where water cannot pool around it, and keep the adapter off the ground on a small bracket or shelf.
A few habits make the location safe without any special hardware. Face the enclosure downward so water runs off rather than into seams. Keep it clear of downspouts and irrigation heads. Leave enough slack in the lead that the box is not hanging by its cable. The stated operating range of -4°F to 140°F and anti-UV material support year-round outdoor use, but shelter still extends the practical life of the power end. The honest limit is that rainproof is not a promise of immersion, so treat the pocket as genuinely dry.
Route the strip from the power end
Once the adapter location is fixed, run the strip outward in short, square sections. Working away from power means the last section is the one you adjust, and it also keeps the cable run tidy at the start. At each turn, confirm the LEDs face the same direction before the backing grips; a flipped section interrupts the chase effect that the per-pixel control is meant to produce. Installing lights around corners and rooflines walks through the turn in detail.
The run supports any size or shape, so an uneven edge is fine as long as each section sits flat. Use the self-adhesive backing on a smooth, sealed fascia and screw-in fixing on rough or painted boards, or both together where you want the firmest hold. Keep the control box accessible while you work: you will want to power up and step through a few of the 234 dynamic modes before pressing the final fixings, and that is much easier if the box is at hand rather than across the yard.
Plan the time around the power end
Power placement affects how long the job takes. A well-chosen outlet and sheltered pocket mean the mechanical work is mostly pressing sections and checking corners; a poor choice adds cable runs and repeats. The permanent light installation timeline breaks the work into stages so you know what comes first. For a first attempt, a beginner’s roofline walkthrough shows how the power end is handled in practice.
After the strip is fixed, connect the adapter and use the LotusLamp X app to set color, brightness, speed and sequence, try the built-in timer, and check music sync. The included remote covers quick on and off. Testing now, while sections can still be lifted, is the simplest way to avoid a second trip up the ladder.
What to check before you buy
A short check of the power end prevents most placement mistakes.
- Locate the nearest protected exterior outlet.
- Confirm the adapter lead reaches the first fixing.
- Pick a dry, sheltered pocket for the control box.
- Keep the box clear of downspouts and sprinklers.
- Leave slack so the enclosure is not cable-hung.
- Treat IP67 as the seller’s rating and 50,000 hours as an estimate.
FAQ
Can the control box sit outside in the rain?
The seller says it is rainproof, so ordinary rain on a sheltered enclosure is within the stated use. It should still sit under cover and out of standing water. Do not treat rainproof as a reason to leave it exposed to running water or a sprinkler.
How far from the outlet can the run start?
Start as close as the layout allows, since the adapter is a wired 24V unit and the lead is fixed. The 100ft refers to the light strip, not an extension of the power cable. If the best face of the house is far from the socket, plan the route to reach it without wasting strip.
Should the adapter be mounted off the ground?
Yes, whenever you can. A small bracket or shelf keeps it out of puddles and meltwater and makes it easier to reach. Keeping the adapter dry and accessible is the simplest way to protect the power end of a permanent display.
Good outdoor light adapter placement makes the rest of the installation straightforward. Start at the outlet, shelter the box, and run the strip outward while you can still test and adjust. If this 100ft RGB+IC set fits your route, see the 100ft RGB+IC eave lights on Amazon to check the current configuration.
Views: 0